Description

Replacement Engine Casing Plate - Standard type.
*Not suitable for Geared engines*

Roary the Repair Lion says:
Bolt Torque: 24 N·m (2.4 kgf·m, 17 lbf·ft)
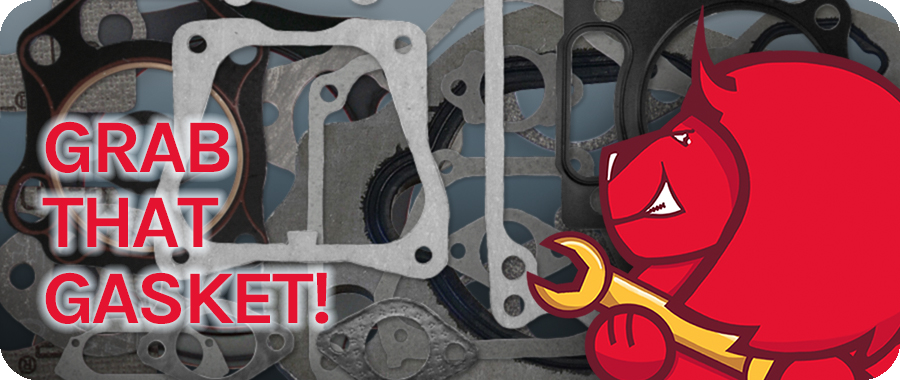
* Always use a new gasket kit when rebuilding the engine * This engine uses "crush" gaskets which cannot be reused as old gaskets can result in loss of compression and failure to run or start correctly.
Things to check before purchasing:
1) Check both oil seals - There are two oil seals. Each located at either end of the crankshaft. When you remove the side plate the seals might get damaged and need replacing. A damaged oil seal will leak! Replacements available on the model page.
2) Check bearing in the side plate for damage - Replace if there is any play, wobbling, is hard to turn or there are any noises when turning. Replacements sold separately on the model page.
3) If the side plate broke due to the crankshaft wobbling, be sure to replace both crankshaft bearings and inspect the crankshaft.
4) Always use new gaskets when rebuilding to ensure a tight seal. The crankcase gasket should never be reused.
You will require a gasket kit to rebuild your engine. Reduced price when bought with the side plate!
In a small engine, gaskets and seals are used in many locations to improve the seal between components. They are designed to prevent the fuel air mixture from leaving the cylinder during combustion. They are also used to keep oil from leaving the crankcase. One defective engine gasket or seal can cause a significant loss of horsepower.
Make sure the surface is clean before fitting gaskets and seals. Use a sharp razor blade to gently remove any residue until it feels smooth to the touch. Be careful not to damage or score the surface.
When the Engine is Rebuilt:
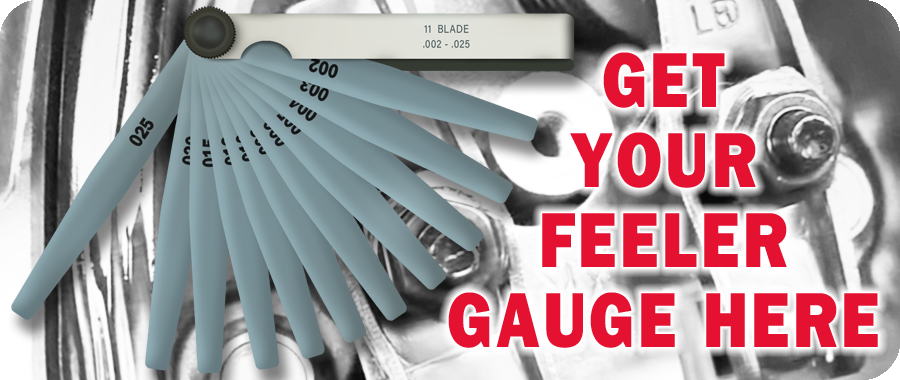
Once the engine has been rebuilt, set your Valve Lash Clearances to 0.015 inches OR 0.4 mm for both Intake and Exhaust. (If not running correctly, open the exhaust to 0.020 inches OR 0.5 mm).
You will need a Feeler Gauge to set your Valve Lash Clearances.
**Below is a great video that will guide you through setting the Valve Lash Clearances**

*Compatible part
We spend 1000's of hours every year providing Free Repair Advice. As you can imagine, this does not pay the bills! If you would like to buy us a coffee to say thanks, we would really appreciate it!


