Description

Replacement Piston Head made from toughened cast Aluminium
Comes complete with Piston Rings, Gudgeon Pin and Circlips.
There are a few different sizes for this model. Please state bore size when ordering.

Roary the Repair Lion says:
Diagnosis:
Pistons need replacing when:
A) The wrong spark plug has been fitted and burns too hot. This damages the piston. If there is combustion damage on you original Piston we highly suggest you replace the spark plug for the spark plug that is designed for your engine. DO NOT us a spark plug that is of a different code from the manufacturers specified spark plug! Available from the model page.
B) The service schedule has not been followed and the Valve Lash Clearances need resetting. Resulting in valves opening at the wrong time. Inspect valves, valve reatiners, rockers and push rods for damage. See repair tips below for instructions on setting the valves.
C) Damage has happen to the Con Rod during operation.
D) Low oil preventing sufficient lubrication to the piston and rings. If the engine did not shut down when oil was low then replace the Oil Sensor CDI, (if applicable for your unit.)
Things to check before purchasing:
1) Inspect valves, valve retainers, rockers and push rods for damage. Replace as necessary. Part available under "cylinder head parts" on the model page.
2) Check if there is damage to the Cylinder Block, such as deep scrapes from the damaged piston. If so, you will also need to replace the Cylinder Block. (Please contact us if you require a new Cylinder Block and cannot find it on your model.)
3) Check both Oil Seals - There are two oil seals. Each located at either end of the crankshaft. When you remove the crankshaft, they might get damaged and need replacing. A damaged oil seal will leak! Replacements are available on the model page.
4) Check the second bearing in the side plate for damage - Replace if there is any play, wobbling, is hard to turn or are any noises when turning. They are sold separately on the model page.
5) Be sure the cam shaft decompression weight moves freely and springs are not worn out. Clean or replace if necessary. Replacements are available on the model page.
6) Check gears on the camshaft and crankshaft for damage. Replace if necessary. They are both available to purchase on the model page.
Rebuild Tips:
When replacing the Piston and Rings it is advised to fit a new Gasket Kit to ensure the engine is sealed correctly and to inspect the new Crankcase Bearing as these often sustain damage during removal.
A) Always oil all internal parts as you install them. Do not oil the gaskets or oil seals.
B) Fit the oil sensor. Be sure it is sitting in the groove correctly.
C) If removed, install the governor and governor arm shaft. Be sure the governor clip, and the split pin on the arm, has the flat side to the groove. Next, install the arm washer on the arm shaft.
D) Connect the piston and the con rod. The "spike" on the con rod and the triangle on the head of the piston should be pointing in the same direction.
E) Install the piston with the triangle pointing down towards the push rods hole. When replacing the piston, first warm it in your hands, or let it sit in a warm area. This will allow you to insert it into the cylinder head much easier.
F) Install the crankshaft and attach the con rod with "spike" pointing downwards. Torque: 12 N·m (1.2 kgf·m, 9 lbf·ft)
G) Install valve lifter tappets just before the camshaft.
H) Install the camshaft. Be sure to line up the punch marks on the crankshaft and the camshaft. If you do not do this the spark plug will not fire at the correct time and 99% of the time causes extensive damage to the internal working of the engine.
I) Using the new crankcase gaskets replace the side plate. Do not reuse old gasket! Torque: 24 N·m (2.4 kgf·m, 17 lbf·ft)
J) Carefully insert oil seals. Do not oil the oil seal prior to installation.
K) Fit the flywheel. Torque: 75 N·m (7.6 kgf·m, 55 lbf·ft)
L) Replace oil drain bolt and refill oil. Torque: 18 N·m (1.8 kgf·m, 13 lbf·ft)
M) Once the engine has been fully rebuilt, set your Valve Lash Clearances to 0.015 inches OR 0.4 mm for both Intake and Exhaust. (If not running correctly, open the exhaust to 0.020 inches OR 0.5 mm).
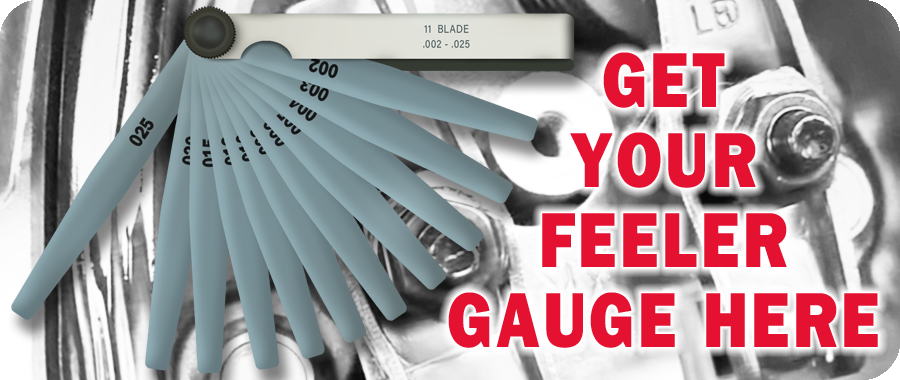
You will need a Feeler Gauge to set your Valve Lash Clearances.
**Below is a great video that will guide you through setting the Valve Lash Clearances**
*Compatible part
We spend 1000's of hours every year providing Free Repair Advice. As you can imagine, this does not pay the bills! If you would like to buy us a coffee to say thanks, we would really appreciate it!


